How To Setup Arlo Camera On Phone
The most reliable, convenient and the provider of high quality is Arlo. Arlo security camera system ensures to provide you with seamless experience because they proffer seamless integration and remote access. In this blog you will get to know about the easy-to-follow instructions that will help you with Arlo camera setup.
Prepare for the setup- Start the initial process by taking out your camera and other object including adapter, cables, mounting equipment and Arlo base station from the box and check them thoroughly. Charge the camera until its battery is full or simply if it works with batteries then insert them into the camera where there is battery sign made.
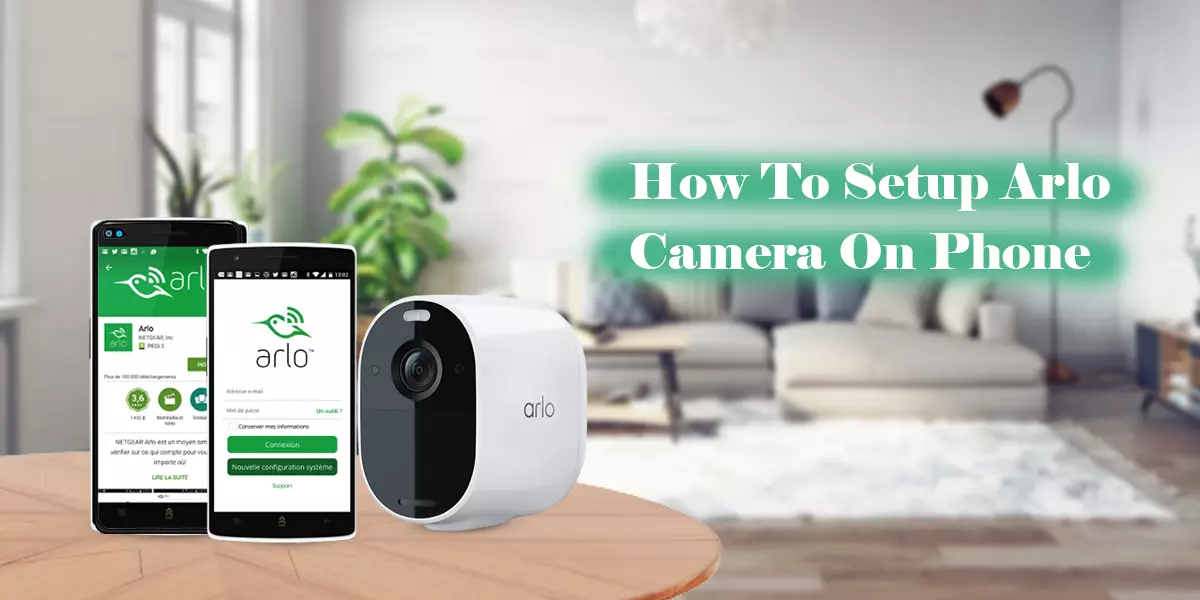
Arlo app-Get the Arlo app on your device by transferring it from the app hoard and connect it. You will discover that it is well-suited with both iOS and android devices.
Generate the account- The next step is to generate the account if you are new user, then open the app or use web interface with Arlo’s web address to create it. Look for sign up option, enter the email address where you will receive a code and generate specifics of login.
Setup of Arlo base station- Arlo base station setup is essentially required for Arlo camera setup. You can use an ethernet wire to link it with your wifi router. Use power adapter for linking base station to power basis and turn it on. When there will be solid green light on the base station then it means connection is comprehended.
Add camera- Open the Arlo app and execute the login with the specifics you have created and verify them before submission. Look for + sign or add device option and click on it to add your camera, if you are going to install multiple cameras then you can name them differently to recognize them easily. You can also add camera with the help of QR code scanning or you can manually enter its model or series number, but this method depends on your camera model.
Monitoring place- Now its time to mount the camera but for that calmly select a place where you want monitoring whether it is indoor or outdoor, front yard or back yard just make sure that camera must get sufficient light for recording clear picture even in night. Make it weatherproof if you are planning it to place outside.
Use the mounting bracket and securely attach it to the place, be sure of ideal height and hindrance free view. Though once the setup is done you can move the camera according to your preferences.
Settings and testing- After successfully mounting the camera go to Arlo app’s camera setting option and according to your suitability alter the settings of the camera like setting an activity area for sensors and motion detection, video recording and quality settings, notification alerts etc. After accomplishing this test your camera’s live feed if you want to make some changes in its positioning then you can do it.
End thoughts
If you face any difficulty during the setup then you can talk to our professionally trained experts who will provide you with the exact solution that you needed to eradicate the issue.